Custom Magnetic Lee Adapter
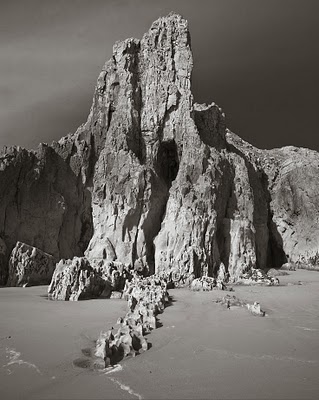
The picture taken above utilised my latest custom gadget that I’ve been working on for a few weeks. The impetus for the gadget came about when I was purchasing and testing various lens hoods for the Ebony and my range of lenses. I’m probably a little anal about trying to use a lens hood where possible but from the research I’ve done, the case for using a lens hood with a large format camera is a lot stronger than for an SLR or Medium Format one.
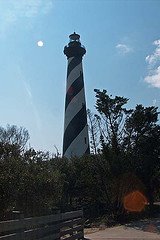
Firstly it’s probably useful to cover why we should use lens hoods at all. The main reason often quoted is to reduce flare if the sun is shining directly onto the front element of a lens. The type of flare that most people think about in these situations is of the highlight flare with multiple reflections, the one that you can simulate in photoshop (if you really wanted to). The following is an example of this type of flare.
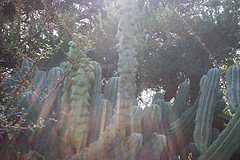
But you can also get less dramatic flare when you don’t expect it, often just because the sun is directly shining on the lens. The article at Cambridge on Colour (great website in general) is very good and shows a diagram of this and the following pictures also show examples..
More insidious however is ‘veiling flare’ which only really shows up as a lack of contrast in the picture. This can be caused by many things from internal reflections in the lens from many sources (so there is an averaging of many point sources to create an overal fogging) or could be caused by bellows flare (excess light entering the camera and bouncing around inside the bellows.
I’ve created a set of little diagrams to show how the large image circle of large format lenses can create bellows flare. Firstly we have an imaginary me taking a picture of a flower in a cave (not something I’ve done by the way) and as you can see, the sun is behind me so there is no need for a lens hood.
However I’m using a lens with a very large image circle. I’ve posted a comparison of image circles before but it’s not unknown for the image circle to be three times as big as the film area (the 110XL for instance). If we look at the what happens if we plot where the image circle goes we get as follows.
Oops.. we can see that the image circle is taking in the light from the clouds and also the light from the lake in front of the cave. The clouds are at EV15 and the lake is EV12, out flower in the cave is at EV6 so any stray light can easily fog the film.
Finally, if we look at a ray of light coming from the clouds and through the lens, we can see that it is lighting up the inside of the bellows.
Even though the reflections of this light are reduced a lot because of the way the bellows is constructed and the material it’s made of, very bright light sources can very easily fog the shadows of a low light exposure. This will show itself as a reduced contrast over either the whole picture or graduated over one side of the picture. One way of recognising it is that a strip at the edge of the frame will possibly be full contrast because the contruction of the back standard blocks the light from the bellows slightly.
The only way to stop this happening is to limit the light entering the lens by adding a lens hood as follows.
So now I’ve said why, what is it that I’ve actually done. Well.. when I bought a Lee wide angle hood and a standard hood from Robert White. After checking for vignetting using my different lenses, I found that there was no way of using graduated filter with the lens hood without also using a tandem adapter. The extra thickness added by this tandem adapter and second Lee holder caused the 80mm to vignette. The problem being that lens hoods are designed to be mounted square to the camera. If you do this, the slot for a filter in the lens hood can’t be used for grads at any angle other than 90 degrees.
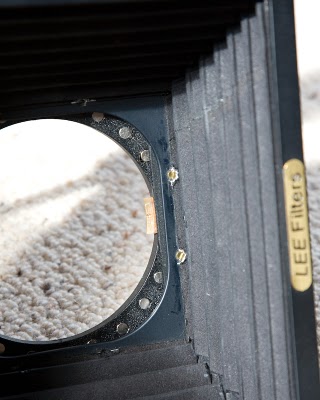
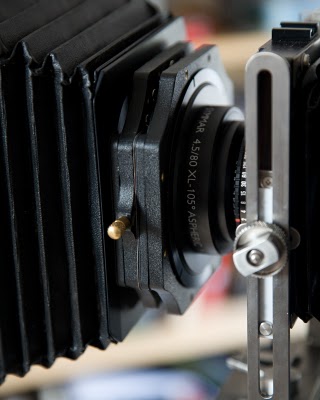
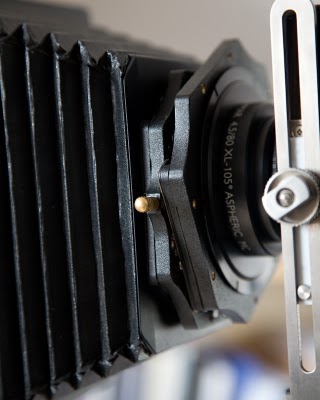
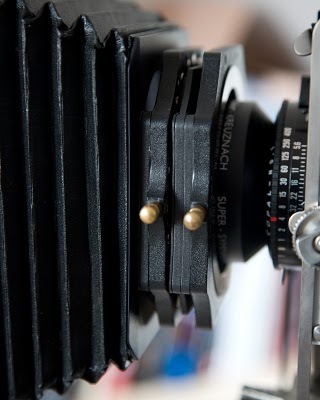
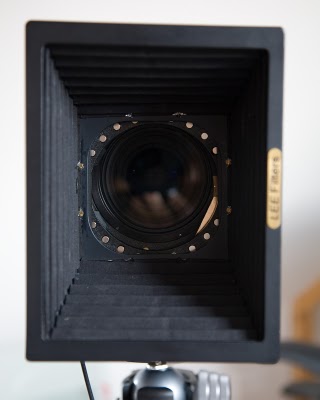
So I got to thinking how I could possibly use the wide angle hood without having to sacrifice grad usage (or be limited to only using grads with a horizontal orientation). I figured the only way I could get it to work is if I stuck the filter on with something like blue tack. Then I remembered seeing an article about a german company that sold super strong magnets. These magnets could hold incredible weights and were only about 4mm in daimeter. So I ordered a bunch of these and after a few hours playing (magnets are really good fun! apart from when your business partner borrows some and sticks them to his keys, forgetting that he has a USB memory stick for a keyring.. oh dear) I started drilling holes in the Lee adapter used on gthe wide angle hood and mounted 24 of these magnets by drilling all the way through the adapter and using araldite to embed them. Then I cut some new adapter wings out of an old biscuit tin and attached them to my Lee push on holder (to fit the Centre Filter of the 80mm XL lens). The result is shown in the following photographs. I’ve also included a picture of my 110 lens mounted with a tandem adapter to show the difference in thickness.
The magnets are strong enough to hold the whole lens hood assembly even when the camer is pointing straight down. One of the unexpected benefits was found out when I was taking the picture of the succulents in Gower. I was using a LOT of tilt and rise and ran into vignetting problems at one side of the picture. However, because the hood isn’t centered on an adapter, I could slide the whole assembly down a bit to line it up with the rise that had been applied. Effectively I moved the whole of the hood image circle down to match the amount of rise I had applied. You can hopefully see this in the image below.
The Light and Land crew were suitably impressed (actually their expressions could have been interpreted as incredulity at my obsessive compulsive behaviour – but I chose not to) and they’ve now challenged me to produce a new gadget for them, a self demisting ground glass screen. I think they may have been joking but ‘I have a cunning plan’…


3 Responses to “Custom Magnetic Lee Adapter”