Still Developing

" A lot of my enjoyment of photography comes from learning. This is typically done through talking with others, reading books, magazine articles, blogs, etc. Part of the balance of having so much good information available (especially the writings that people make available for free online) is to contribute back by writing anything that I learn or experience. If you get something out of this great. If you care to comment to correct my many mistakes, I would greatly appreciate it. Landscape photography can be a lonely occupation but the conversations we have more than make up for that. "

Wednesday
18 June 2008
4 Comments

Cornwall Holidays

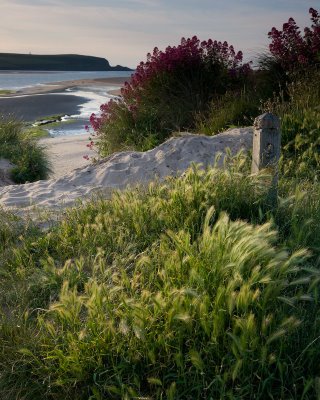
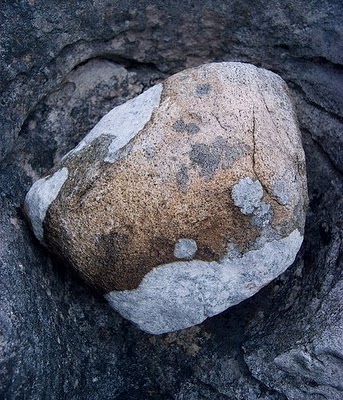
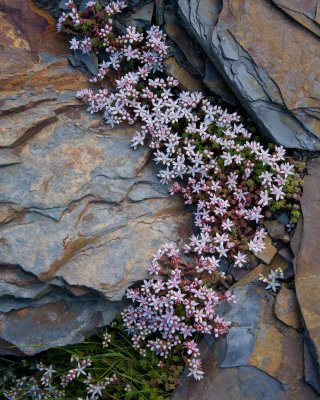
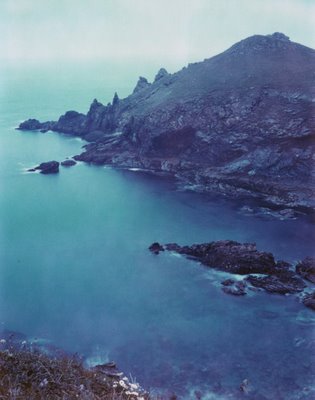
I’ve just come back from a gorgeously sunny holiday in Cornwall which made me realise how much my tastes in weather are changing. Blue skys all day do wonders for your mood but don’t really help much in getting attractive photographs. The picture at the top of this post was taken on a really sunny day at the Strangles but whilst hiding under an umbrella (a borrowed one that was white and black big checks – my current one is black and red and lends a ghastly cast if used as a shade). The plant is English Stonecrop and is only one of many plants that are incredibly bountiful and lush at the moment. Other plants that were particularly remarkable were the Kidney Vetches (in reds, oranges and yellows), various orchids and orchid like plants, Thrift (although most of it was cooked) and many types of Speedwell. I’m not normally a ‘flower’ person but this holiday was the first time I really looked at the way the plant life and landscape interact and enhance one another and accepted that, just because they are a stereotypical subject matter, it doesn’t mean that flowers can’t be used as an ingredient in a successful composition.

We were staying in Rock (again) and spent most of our time walking around the dunes and over to The Greenaway (between Rock and Polzeath) but we also visited Pentire Head, Lundy Hole, Booby Bay and the Strangles. The Strangles was definitely the highlight with new rockfalls calving pristine geological features. The bright sunshine didn’t help though and I’m not sure I’ve got the best results, we’ll have to wait to see what the film comes back like.

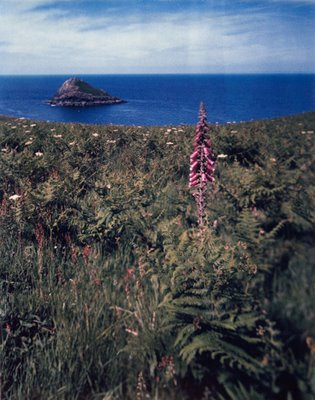
I did try out some polaroid though, I figured there wasn’t much to lose in seeing what could be extracted from it. The results were useful in checking to see whether shots were compositionally OK (I think my new screen should help with this also) and they were a lot freindlier to use in hot sunshine where they ‘set’ much faster (so little smearing, running, condensation staining, etc).

I’m happy with a couple of these, probably the one with the most potential is the Foxglove one taken at Pentire Head. We’ll see when the transparencies come back.

What became apparent on the holiday is that I need to concentrate more on finding the shot – I have a bad habit of premature commital, which means I’ll get a but not the shot. I also so want to return to the same locations to extract more out of them. I’m considering closing the feedback loop a little better by taking a small laptop with me when I’m on short hikes – that way I can take digital shots, find the composition I want, see what is wrong with it and then return immediatly to correct it. This isn’t something I want to do on a regular basis but the LCD on my 5D just isn’t good enough to adequatly assess the pictures I’m taking. I do have an Epson p5000 which I was thinking about selling. I might try this instead as it’s a lot smaller and it has a bright screen. What I’m getting at is that I possibly need to spend more time fine tuning composition before committing to the picture – I’m too wrapped up in the process of taking still to be able to release my mind enough to constantly consider composition.

[I’ve just been re-reading this and it’s not quite clear what I meant. To summarise – I see an object or feature when looking for a composition. My mind then fixes on this object and tries to work out how to create a composition from it. The problem is that I’m now locked into using this object in my composition and I’m closed to any other opportunities. The problem is that there may be no suitable composition that works, even though the object itself is really interesting]

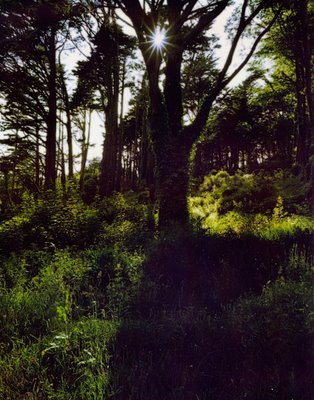
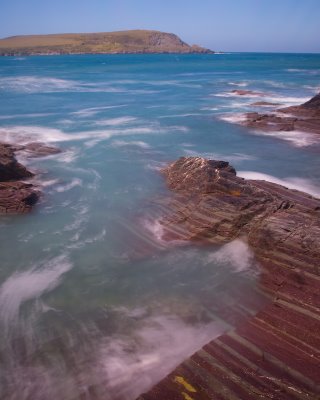
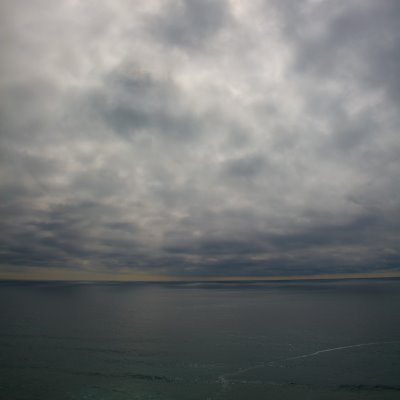
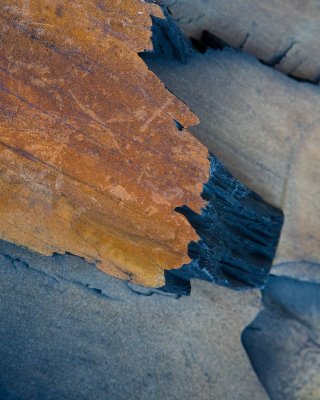
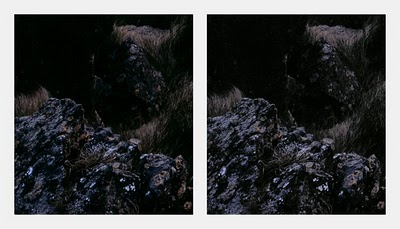
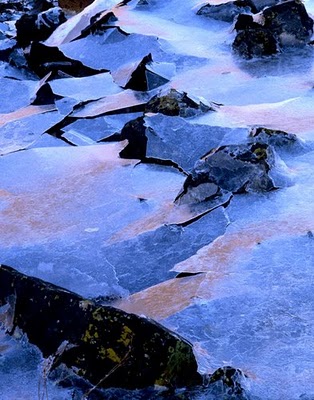
Finally, here are a couple more shots taken with the digital camera that were ‘interesting’ to me. The long exposure daylight shot was with a .9 and a .6 acrylic lee ND and also the dark end of a 1.2 Singh Ray hard grad ND. The strange colours are a result of the grads not blocking infra red and causing a colour cast across the red end of the spectrum (and also possibly a bit of the green). I’ve taken a picture using this combination and film so it should be interesting to see the difference.

Click to view full post including 4 Comments
Wednesday
18 June 2008
4 Comments

Latest Camera Bag Tweakery

OK I admit it, I’m bored and uploading pictures of lens caps and filter holders is a really sad way to fill the time. However, it fulfils my OCD quota for the week so here goes.

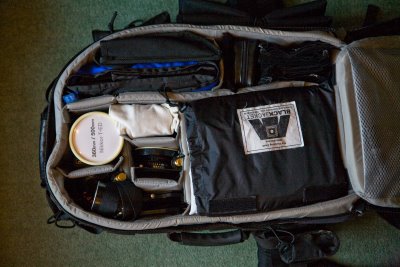
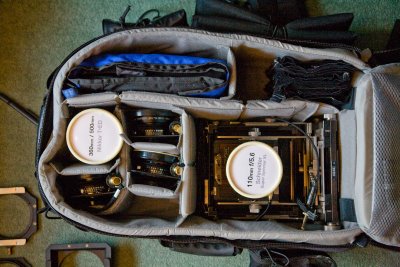
Firstly, here is a piccie of the inside of my camera bag for reference.

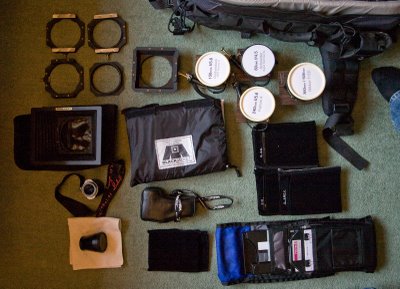
And here are the bits taken out so you can see them.

I’ve only recenty reorganised everything to try to make it easily accesible. The interesting bits that I’ve recently been playing with are the new lens caps and filter holders, both inspired by Joe Cornish.

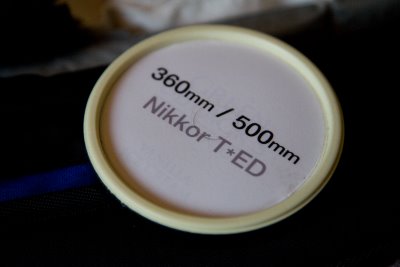
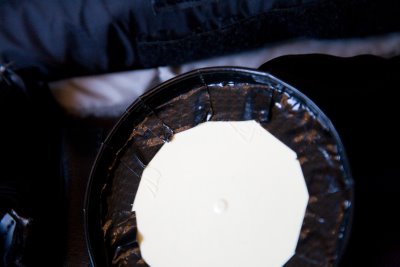
Firstly, the lens caps are probably fairly obvious in the pictures. They are actually Green and Blacks ice cream lids with Gaffer tape added to provide a push fit which will exclude dust. The labels are from a CD label kit I never used..

The key to getting a flush fit on the Lee adapters is to long strips of gaffer tape that can fit inside the lid which are added before the flaps you can see. These strips are stuck to the inside edge of the lid and are added to close the diameter of the lid slightly. I added four layers of gaffer tape and then added a final strip of gaffer tape on the outside that was then folded onto the inside (with judicious strips cut to stop creasing).

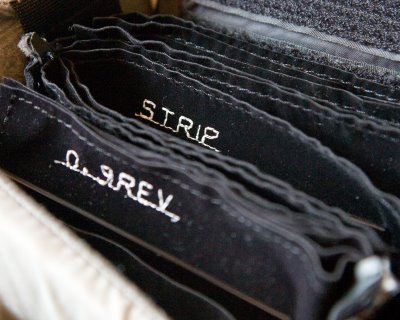
The other custom addition is my hacked lee filter kits. I took a razor to my Lee 10 filter holders and ended up with four thin books with five sleeves each. These now take up about half of the space and I can find and replace filters a lot faster. The finding bit is easier because of the clever sewing machine acrobatics courtesy of my wife Charlotte’s wizzy sewing machine. This allowed me to stitch on the names of each filter which makes flipping through all of the filters a snip.

Click to view full post including 4 Comments
Tuesday
17 June 2008
6 Comments

Maxwell Screens Replacement Fresnel


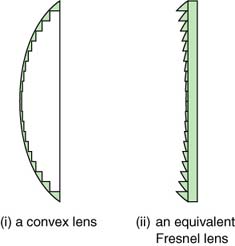
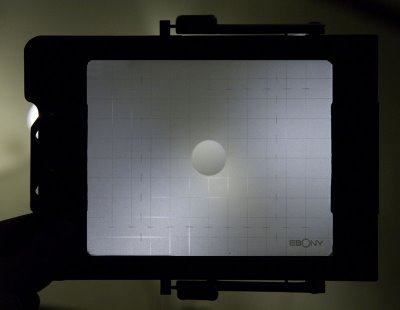
I received my Maxwell replacement fresnel today and wanted to post a couple of comments on what I thought of it. Firstly, it may help to know what a fresnel is. The image above should help a little with this.

A fresnel is a normal lens but cut into lots of donut shapes and squished flat. A well designed fresnel should behave almost exactly the same as the equivalent lens. So what is a fresnel used for .. Well the main use is in helping view wide angle lenses where if you only have a ground screen you will tend to get a ‘hot spot’ in the centre and dark corners. A fresnel can focus the light back into your eye as shown below.

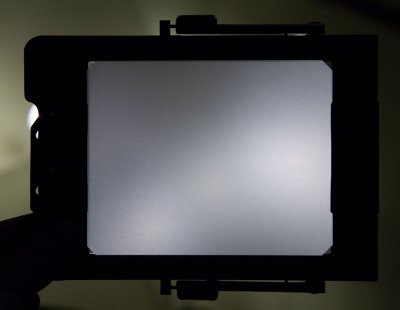
The standard fresnel with the Ebony is satisfactory but I got spoilt by seeing the Maxwell screen that Joe Cornish is using which has the added advantage of having no markings on it whatsoever (although I might need to add tilt markings for the assymetric tilt). The Ebony fresnel also has a distinct central circle where there is no fresnel cuts which shows as an obvious mark on the screen. The image below shows real photograph of both fresnels.

I’m extremely happy with the Maxwell screen which, although it costs nearly £200, enhances every lens I own. The big surprise is what a difference it makes to the 80mm Schneider Super Symmar XL. I had to check that I hadn’t put the 110 on by mistake it’s that even and bright. I also checked it with the 360 and 500 to see if I would get dark corners (with longer lenses the fresnel can ‘over focus’ which means you end up with a hot spot but for a different reason – this can look really peculiar) but there was no problem at all. The only lens that was slightly worse for field of view was the 240 but not in any significant way (and I think this may be just me being picky).

I have a feeling that the difference between the two fresnels is that the Ebony is probably made to a lesser precision and hence suffers from blurring and abberations. With the Maxwell screen, the lines that are prominent on the Ebony are very thin and the image between the faint lines is a lot crisper. This makes focussing lenses easier, and in the case of the 80SSXL, a LOT easier. I suppose it’s only like any other lens construction, the better made – the better the image.

The big test is how it affects my composition. I’m hoping that the lack of lines in the frame will let me concentrate on the composition as a whole and that the even-nes of illumination will also let me see the whole picture at once in a much clearer way.

Click to view full post including 6 Comments

.

Tuesday
3 June 2008
No Comments

Fair Weather Photography?

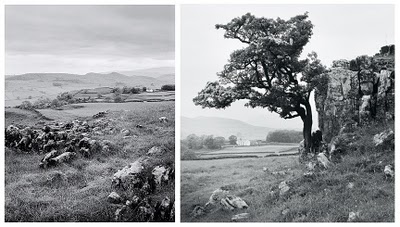
Myself and a friend (Dav Thomas) planned a trip out to the dales a few months ago and when it came around the weather was, to put it mildly, soggy. However, we chickened each other into going out anyway and despite me getting lost we ended up driving around the back of Malham Tarn to a place called Winskill Stones.

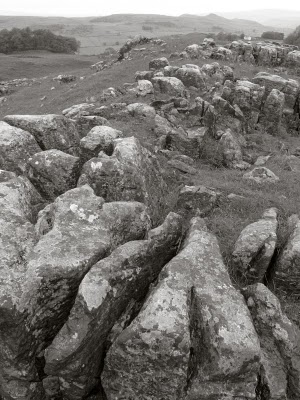
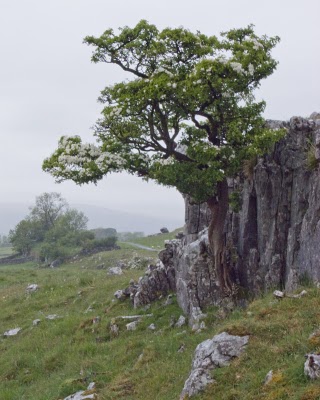
Winskill is somewhere I’d never even heard of but it has a wondrous backdrop, s small limestone pavement and some amazing stone wallage, The following images are Dav’s (which are stunning if you ask me). My ‘snaps’ with the Ricoh are at the top and I’ll add the tranny scans when I get them.

The weather didn’t stop us getting shots, in fact the weather made the pictures better – we only stopped when the camera bags started filling up 😉 Rainy weather just adds to the subtle drama of a location like this. One thing that did surprise me was that the mozzies were still active even though it was raining – bloody things. Dav also had a very neat little umbrella that you can attach to your flash bracket (he uses it on his Chamonix), very useful to keep the rain off your grads!

Click to view full post including No Comments
Friday
30 May 2008
1 Comment

Wild Stillness


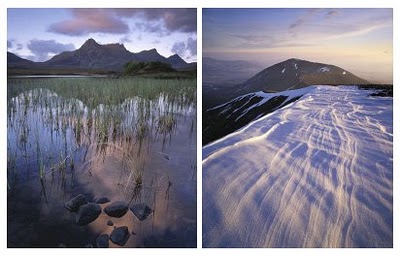
Yet more gallery openings and again miles away from Leeds :-) This time it’s Joe Cornish’s turn at the Hooper’s Gallery in London (promo photos from the exhibition shown above).
Joe’s new work ‘mixes it up’ a bit with a large range of styles of photograph, from vista to intimate, primary colour to near black and white, high key, mountains, valleys, etc. I’d seen many of the pictures already, either as transparencies or as digital files but it was quite surprising how some of them became transformed when put large on a wall. Joe had a couple of prints enalarged on duralumin to 6′ x 4′ (ish) and both were stunning. It’s quite amazing the amount of pictures within pictures you can find when presented with such a large amount of information. The prints themselves gave you that feeling of being their, the peripheral vision working to pull you around the photograph.

My favourites from the show were a quite intimate shot of water flowing over a gap in some falls. The only evidence of the water being the slight reflections as it flows over the rocks and the green tint of the water itself. Another was a completely snow bound valley with a frozen stream running through it. The other favourites were a shot of Glen Etive falls with a boulder and what looks like quartz layering in the foreground and another shot of Budle Bay in incredibly soft, high-key light. Damn.. and another was of bending reeds in a loch with glowing light – and another, and another..

If you get a chance to see the exhibition, please do so.. I also got to see a few regulars and a couple of people I haven’t met before. Again the evening went far too fast and I had to dissapear off to the train station to catch the 9.30 back to Leeds.

Click to view full post including 1 Comment
Tuesday
27 May 2008
12 Comments

My New Finder – Ricoh GX100

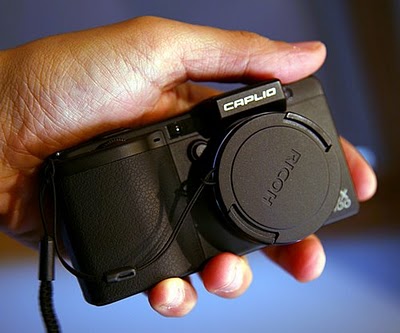
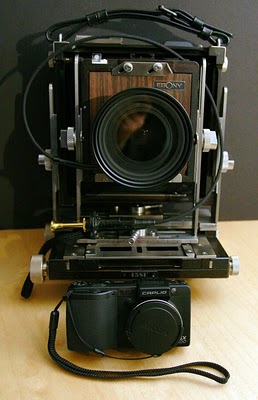
When I was on the Light and Land course in Gower with Joe Cornish and Davd Ward, I was using my 5D and 24-105 as a finder and also as a note taker. This worked fine apart from the fact the combination is large and heavy.

Joe was using a small digicam during the course with a Lee grad system mounted to it. The camera was a Ricoh GX100 and had a lot going for it as a finder replacment (especially considering it’s a similar price to a linhof finder). Obvisouly it takes photos but most digicams only go as wide as 28mm wheras the Ricoh goes to 24mm.. This is the equivalent to about an 80mm lens. The zoom also goes out to 72mm which is equivalent to a 240mm lens. The lens also zooms in steps (28,35,50) which are equivalent to (93,115,170). These steps aren’t a perfect match with my lenses but are close enough to give me a good idea of what lens to pick (good excuse to buy a 90mm too :).

The ability to mount a lee filter system (the new RF75 kit which is being released in June) is one of the real attractions. To have something I can keep in my pocket with filter holder mounted and then just pull out and slip a grad in is quite cool. So far I’ve used the camera up at Twistleton and it’s been a pleasure to compose with. I need to get used to the zoom settings on it (knowing which ‘step’ you are on is not immediatly obvious, but it doesn’t need to be in most cases). The photographs in the previous post about Twistleton are from the Ricoh.

I don’t think I’ll stop using the 5D completely but it will be demoted to jobs where I know I’m not walking far; the mix of usage is still open.

It’s also interesting to note that Joe said he would have to think carefully about buying another linhof finder, if a replacement were needed, as the Ricoh does such a good job.

Click to view full post including 12 Comments
Monday
26 May 2008
No Comments

Working the land up Twistleton Way

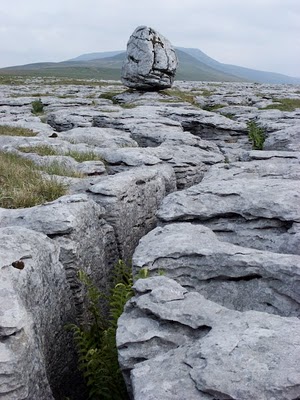
Me and Charlotte have walked around Twistleton a couple of times in the last few weeks, both times have been bright sunshine and quite windy but it’s been interesting to get the lie of the land. I only took one photograph whilst out but did take a few snaps with my new Ricoh (more about this new camera in another post).

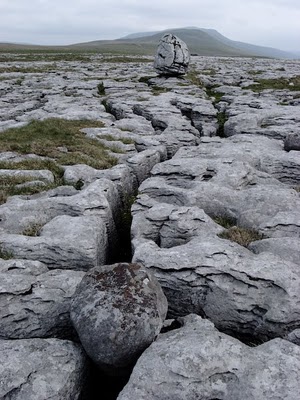
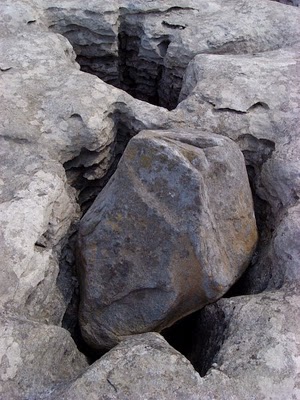
Although the landscape is very impressive, it’s quite difficult to simplify things to get a good composition. I think I was guilty of trying to hard to capture a single idea (in this case a single erratic boulder seen in the image below).

This image below was the only one I felt a little more confident about but it doesn’t work in this light at all .. merely ideas at the moment. I’m hoping to come back here with a friend in a couple of weeks..

Click to view full post including No Comments
Monday
26 May 2008
3 Comments

Waterproof Quick Disk


If you don’t know what the Quick Disc is, it’s worth checking out the Quick Disc homepage. In summary, it’s a way of seeing how much you are magnifying the image by comparing a known size object with a calibrated ruler on the ground glass screen.

The standard quick disc is printed on cardboard and hence gets smeared when wet and is difficult to read in the darkness of a dark cloth.

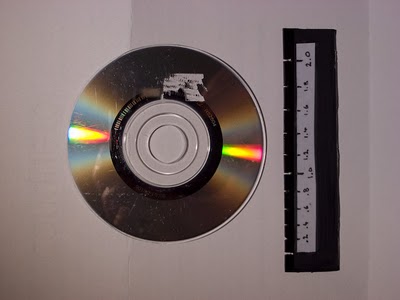
I had a look around for something that I could use as a replacement for the disc and found a small mini cd that I got with my sans disk compact flash reader. It was just the right size and is obviously waterproof but has the bonus of standing out well from the background when measuring.

For the ruler, I cut a peice of black plastic to size, sellotaped a scale on it but also cut notches in the ruler so I can read the silhouette against the ground glass screen.. Only a small thing but it makes it easier and hence more likely to be used..

Click to view full post including 3 Comments
Saturday
24 May 2008
15 Comments

Scanning Large Format Transparencies

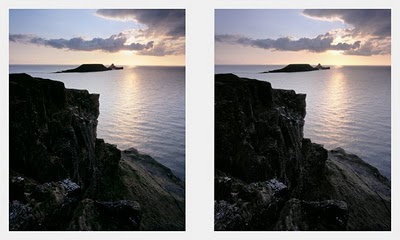
The picture above is the last version of my Easdale picture I took on the first week I had my large format camera and one of my favourites from the recent Gower trip. The reason I’m showing both old and new now is that I’ve only just got around to scanning all of my images and here’s why…

So, straight after my trip to the Gower, I decided I couldn’t wait any longer to get my own scans and after a lot of research, splashed out on an Epson v750. The alternative was to pay a little extra for a second hand drum scanner but the deciding factor was that for the majority of scanning I want to do, I don’t need the extra resolution and DMax of the drum scanner and I definitely can do without the extra time taken to drum mount etc. So the answer was a domestic flat bed for the majority of my scanning with the possible option of buying a second hand Howtek, Creo/Eversmart or ICG later.

First of all, I needed to work out how best to get good detail out of the v750 which means … Testing!..

Well the first thing that needed testing was the optimum height at which to scan. The v750 is factory configured to about 3mm height above the glass but supposedly the actual focus point can be +/- 1 in some instances. I bought a betterscanning newton glass mount which allows you to tape a transparency to the underside of it and ensure a consistent scan height. I scanned up and down in 0.2mm increments and found my perfect height was 3.2mm. The actual resolution difference wasn’t a great deal, possibly an extra 100-200 dpi..

Once this was complete, I tried scanning at different dpi to find out where the ‘break point’ was i.e. the point where extra dpi on the slider doesn’t result in any increase in effective resolution. I tried quite a few resolutions and did see a jump around the 1600-2400 mark. If we say that the maximum resolution is typically a multiple of the native resolution, then the frankly ludicrous 28800 dpi should scale down to either 3200 or 1600. I tried scans at 1600, 2400 and 3200 and tried scaling the smaller ones up and could not tell a huge amount of difference. In fact, in some cases I saw more resolution out of the 1600 than the 2400.. I thought this was an anomoly but tried a few more times and it seems like the the 2400 and 3200 does some form of interpolation or double passing which smears fine detail. The 1600 dpi scan definitely holds a little more detail although it is undoubtedly slightly noisier. That said, if I reduce the noise with a good filtering program, the results are no worse than the 2400, 3200 scan.

I also tried the double pass scanning which also smeared resolution and produced some strange patterning in the shadow detail.

My final test was to see if 48 bit scanning made any difference and to my surprise it definitely did. The results were slightly sharper and less noisy so it appears that something wierd is going on in the downsampling algorithm in Silverfast.

Anyway, by my real world tests, the best resolution to scan on ther v750 is 1600 dpi with no sharpening and at 48 bit.

The output scans can take a reasonable amount of sharpening too and I always apply photokit capture sharpener which has a special setting for 4×5 transparencies. This just brings the sharpness up and avoids most haloing – but look out for sharp, high contrast edges where you can use expert capture sharpener and erase the sharpening on them.

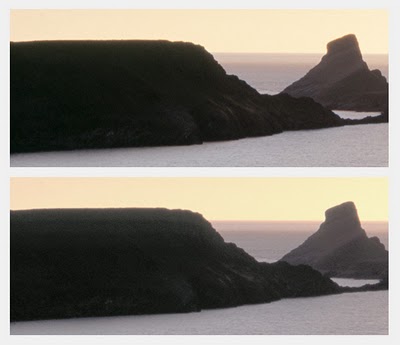
To give you an idea of the results I asked Joe Cornish to scan a transparency that I was working on using his Imacon and the results from the Epson were acceptable alongside it but with some reasonably large problems.

The images to the right and at the bottom are the Epson versions.. The major issues are a lack of colour fidelity, colour problems in the shadows and haloing around high contrast edges. All of these things are hardly noticeable until pointed out or shown side by side. I’m happy with the compromise at the moment and will still be saving up for a drum scanner at some point to make the most out of my ‘best’ transparencies..

I should also add that I can get more detail out with the v750 than I can see with a Schneider 10x loupe.

Addendum :

I’ve taken slices from the Rannoch moor photograph and uploaded them to Flickr. I’ve uploaded two photographs, one sharpened with Photokit Sharpener and one not. The order of the slices are shown is ..

1) 1600 dpi – but I’ve tweaked the alignment of the red and blue layers to get rid of chromatic abberation
2) 1600 dpi – straight out of scanner
3) 1800 dpi
4) 2400 dpi
5) 3200 dpi

The CA fix works quite well in getting rid of the red and blue smearing around highlights.. I’m going to have to play more with this. I’ve also been chatting with Julian Barkway who confirms my visual inspection that the 1600dpi scans are definitely sharper.

http://www.flickr.com/photos/timparkin/2525239268 – unsharpened

http://www.flickr.com/photos/timparkin/2524416493
– sharpened

Click on All sizes at the top of the photo and then click on the ‘original’ to see the full size 100% scan.

I’ve also figured out a little more about the haloing that occurs, especially the large scale haloing as seen on the Gower worms head shot (at the top of the island). This appears to be caused by the direction of scan. Because the light spans the whole width of the scanner, when scanning a pixel in the middle of the picture, light from either side of the scanner will be causing flare in the lens which will cause a smearing across the picture. I tried changing the direction of the mount and lo and behold the smearing moved to either side of the island (in this case that was more acceptable).

Click to view full post including 15 Comments
Saturday
10 May 2008
1 Comment

Richard Childs Exhibition with Joe Cornish and David Ward

A busy week for me which ended with a trip up to Scotland for a Workshop with David and Richard and for the launch of Northern Shores, an exhibition at Richard’s recently extended gallery in Oban, Argyll.

Charlotte and I stayed at Strumhor bed and breakfast near the Connel Straits. It’s a beautiful place with great hosts, food and service.

First thing in the morning we drove over to Easdale to look at the beach where I took ne of my first large format shots.

The morning was very sunny but had a strong sea mist. I wanted to take a picture of the strange tree like feature that Richard had shown me last time we were there.. I’ve still to find out what the feature is but it made for a strong composition, especially with the simplifying nature of the haze.

Charlotte then dropped me off at the Gallery where we joined up with seven other photographers and after a quick bite to eat and a gossip we went off to our workshop locations which was …. Easdale!! Well we didn’t go to the beach (not that I would have been unhappy to) but went instead to the small harbour.

The geology was extraordinary with a combination of slate, basalt, quartz and even some sandstone. I wanted to capture the essence of the place and again the haze helped. A short crossing over a scary wall and I had the raise platform that allowed me to get away from the black stained rocks and up around the polished slate layers. The main photograph was a bugger to expose, with the reflections in the water being incredibly bright.

The photograph above is one I also really like for it’s stillness. The harbour has a natural wier at the entrance which means the water is millpond smooth and I wanted to capture the reflections of the layers of rock in the background but also to capture the wall at man made wall and the way it blended into the rock. I think I capture the nature of the location with these two photographs and am very happy with them.

The exhibition in the evening was predictably very good with some new work by both Joe and David but it was great to see some of Richard’s new work, particularly his amazing picture of Seilabost sands which I’ve included below with a couple more of my favourites of his.

Richard is a challenging role model for someone who has only been taking landscape photographs for four years and now runs his own successful gallery. Congratulations Richard!!

Click to view full post including 1 Comment